Hairstyles will give you some quick and easy ideas on how to style your hair for any occasion in 10 minutes or less.
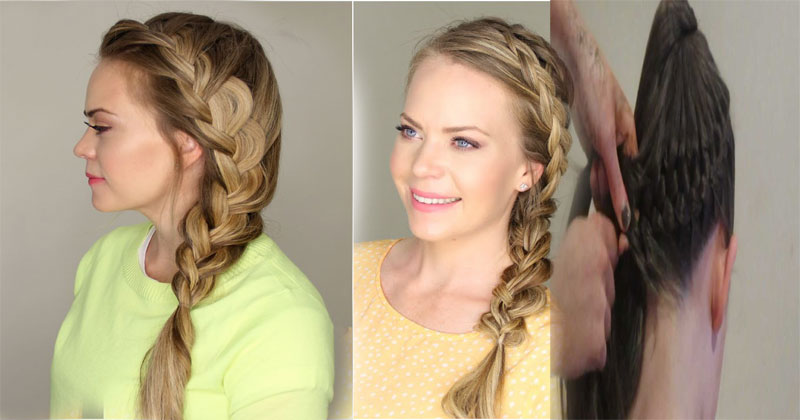
Side French Braid one of the gorgeous simple hairstyle you can try.
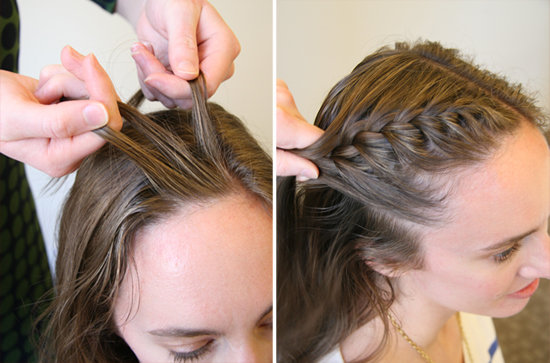
- The part slightly damp hair on the right side. Optional: add a little mousse or gel to keep hair intact and to prevent flyaways. Next, take about a two-inch chunk of hair from the front of the right hairline, and begin a french braid.
- To start a french braid, section this portion of hair into three even strands, keeping them separated with your fingers (whichever ones feel most comfortable to you). Now, start a normal braid; take the right strand and cross it over the middle strand. Next, take the left strand and cross it over the middle strand.
- Once you have this small foundation braid, begin adding more hair with each crossover. To do this, gather a small bit of hair from the hairline, add it to the rightmost strand, and then cross it over the middle strand. Pull it tight, but keep the strands separated at all times. Repeat on the other side by gathering a small bit of hair closest to the side part (away from the hairline), adding it to the leftmost strand, and then crossing it over the middle strand.
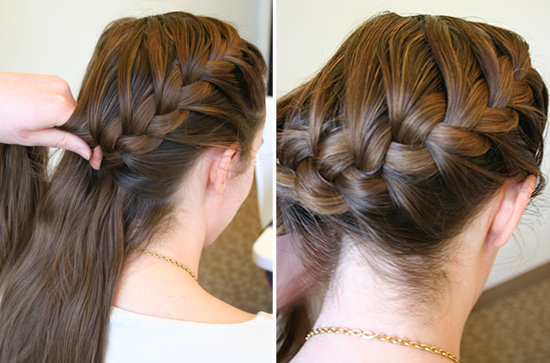
- Continue this braiding pattern until you are about one inch away from the right neckline. At this point, start to braid horizontally across to the left neckline. Tip: keeping the braid tight and separating the three sections of hair at all times will help you control the direction of the braid.
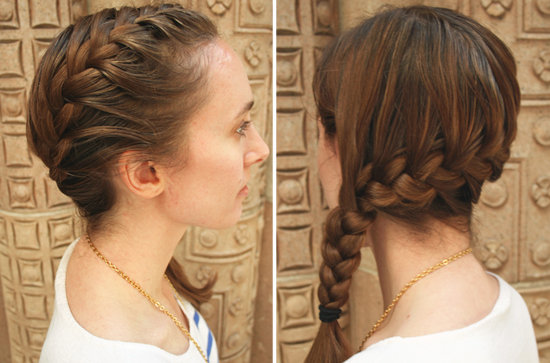
- Try to gather all the hair into the french braid by the time you hit the bottom of the left ear. Once all the hair is incorporated, finish braiding traditionally. Secure with an elastic band.
-
Post Your Comments