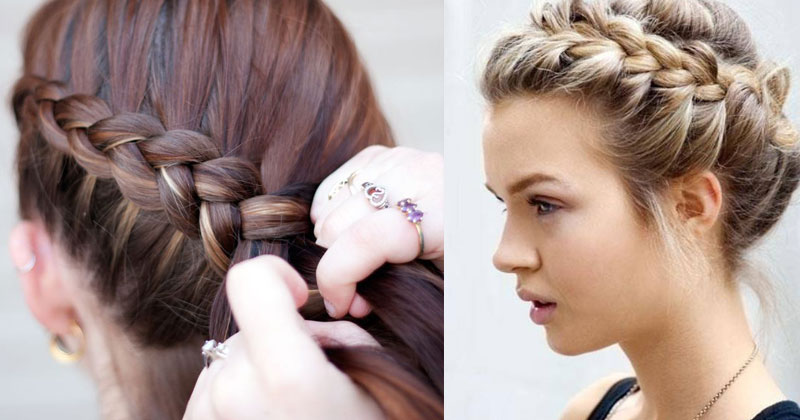
The hairstyle looks very difficult to create, it is fairly simple. A Dutch braid looks best on long to medium length hair that is wavy.
Here is an easy tutorial to style your hair into a simple Dutch braid:
Things You Will Need:
U pins
Elastic band
Step 1
Start with dry or damp hair. You can try this hairstyle on both straight and curly hair. Comb your hair gently and pull it back. Apply some hair mousse on the mid-lengths of your hair (and not on the roots). This product will give extra volume to your hair and a shiny “just-washed” appearance. It is usually lighter on the hair, unlike gels that weigh your hair down and give it a crunchy look.
If you have thin or fine hair, then mousse is probably a must-have product for you as it gives an instant volume to the hair.
Now, make a side partition.
Step 2
Divide your hair at the top of your head into three sections.
Step 3
Start making the braid, but instead of crossing the strands over the middle piece, you will have to cross them UNDER the middle section.
Step 4
Once you have crossed the sections twice under the middle section, take another section from the side and add it to one of your strands and again cross this section of hair under the middle section.
Step 5
Keep repeating the above step and go diagonally towards the other end.
Step 6
Continue braiding till you reach the end. Secure your braid with a black elastic band and put hair over the top of the band to hide it.
Finish your hairstyle by applying a hairspray and you’re all set!
Also Read: Trendy Party Hairstyles You Can Try..!
Post Your Comments