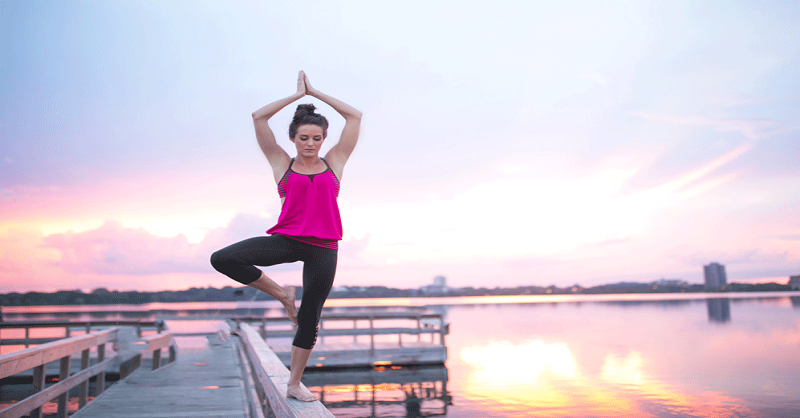
Daily practice of yoga help to be powerful. Here is a yoga pose to try.
Standing Split
When you practice Standing Splits focus on the stretch in your quad and hamstring, not how high you can lift your leg.
Standing Split: Step-by-Step Instructions

Step 1
Perform Virabhadrasana II (Warrior II Pose), right leg forward. Inhale and cartwheel your left arm up and over your head, creating a nice opening in the left ribs.
Step 2
With an exhale, twist your torso to the right, pivoting on the ball of the left foot to lift the heel off the floor. Then lean forward, lay your front torso onto the right thigh, and set your hands on the floor on either side of the right foot (if your hands don’t rest comfortably on the floor, support each one on a block).
Step 3
Walk your hands slightly ahead of, and shift your weight onto, the right foot. Then, inhale and slowly straighten your right leg, simultaneously lifting the left leg parallel to the floor.
Step 4
The proper balance of external and internal rotation in each leg is important, especially for the standing leg. Your left leg and hip will tend to externally rotate slightly, lifting the hip away from the floor and angling the pelvis to the right. Try to keep the front pelvis parallel to the floor by internally rotating the left thigh.
Step 5
Pay close attention to the standing leg, especially the angle of the knee. The knee will tend to rotate inwardly: Be sure to rotate the thigh outwardly and turn the knee so the kneecap faces straight ahead.
Step 6
Feel how the downward energy of the standing leg creates an upward movement in the raised leg. Don’t focus on how high your raised leg goes; instead, work toward directing equal energy into both legs. You can hold the raised leg more or less parallel to the floor, or try to raise it slightly higher; ideally, your torso should descend as the leg ascends. If you’re flexible you can grasp the back of the standing-leg ankle with your hand.
Step 7
Stay for 30 seconds to 1 minute. Then, lower the raised leg with an exhale and repeat on the other side for the same length of time.
Pose Information
Sanskrit Name
Urdhva Prasarita Eka Padasana
Pose Level: 1
Contraindications and Cautions
Lower back injury
Ankle or knee injury
Preparatory Poses
Uttanasana (Standing Forward Bend)
Padangusthasana (Big Toe Pose)
Prasarita Padottanasana (Wide-Legged Forward Bend Pose)
Adho Mukha Svanasana (Downward-Facing Dog)
Janu Sirsasana (Head-of-the-Knee Pose)
Paschimottanasana (Seated Forward Bend)
Supta Padangustasana (Reclining Big Toe Pose)
Follow-up Poses
Bhujangasana (Cobra Pose)
Beginner’s Tip
Support the lifted leg by pressing the raised foot against a wall or hooking its front ankle over the top edge of a chair back.
Benefits
Calms the brain
Stimulates the liver and kidneys
Stretches the hamstrings, calves, and thighs
Strengthens the thighs, knees, and ankles
Stretches the back of the leg, the front thigh, and groin
Post Your Comments