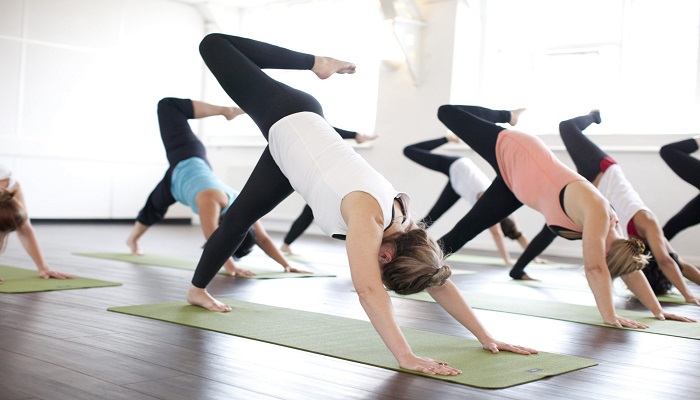
Live a healthy life by taking up and practicing yoga regularly. Here is a yoga pose to try.
Handstand
Do you know Mountain Pose? Flip it upside down and you have Handstand. Go ahead, try.
Like its inverted cousins such as Forearm Balance and Headstand, a major obstacle to Handstand is a natural fear of falling. So the basic pose will be described with the heels supported against a wall. Make sure that there are no hanging pictures or other decorations on the wall directly above you.
(ah-doh moo-kah vriks-SHAHS-anna)
adho mukha = face
downward (adho = downward; mukha = face)
vrksa = tree
Handstand: Step-by-Step Instructions


Step 1
Perform Adho Mukha Svanasana (Downward-Facing Dog Pose) with your fingertips an inch or two away from a wall, hands shoulder-width. If your shoulders are tight, turn your index fingers out slightly; otherwise arrange them parallel to each other. If you’re uneasy about this pose, you’re not alone. To ready yourself for and secure yourself in this inversion, firm your shoulder blades against your back torso and pull them toward your tailbone. Then rotate your upper arms outward, to keep the shoulder blades broad, and hug your outer arms inward. Finally spread your palms and press the bases of the index fingers firmly against the floor.
Step 2
Now bend one knee and step the foot in, closer to the wall (we’ll say it’s the left leg), but keep the other (i.e. right) leg active by extending through the heel. Then take a few practice hops before you try to launch yourself upside down. Sweep your right leg through a wide arc toward the wall and kick your left foot off the floor, immediately pushing through the heel to straighten the left knee. As both legs come off the ground, engage your deep core abdominal muscles to help lift your hips over your shoulders. Hop up and down like this several times, each time pushing off the floor a little higher. Exhale deeply each time you hop.
Step 3
Hopping up and down like this may be all you can manage for now. Regularly practice strengthening poses, like Adho Mukha Svanasana and Plank Pose. Eventually, you’ll be able to kick all the way into the pose. At first, your heels may crash into the wall, but again with more practice, you’ll be able to swing your heels up lightly against the wall.
Step 4
If your armpits and groins are tight, your lower back may be deeply arched. To lengthen this area, draw your front ribs into your torso, reach your tailbone toward your heels, and slide your heels higher up the wall. Squeeze the outer legs together and roll the thighs in. Hang your head from a spot between your shoulder blades and gaze out into the center of the room.
Step 5
To start, stay in the pose 10 to 15 seconds, breathing deeply. Gradually work your way up to 1 minute. When you come down, be sure not to sink onto the shoulders. Keep your shoulder blades lifted and broad, and take one foot down at a time, each time with an exhalation. Stand in Uttanasana for 30 seconds to 1 minute. We tend to kick up with the same leg all the time: be sure to alternate your kicking leg, one day right, next day left.
Pose Information
Sanskrit Name
Adho Mukha Vrksasana
Pose Level: 1
Contraindications and Cautions
Back, shoulder, or neck injury Headache Heart condition High blood pressure Menstruation If you are experienced with this pose, you can continue to practice it late into pregnancy. Don’t, however, take up the practice of Adho Mukha Vrksasana after you become pregnant.
Modifications and Props
One way to modify Handstand is to brace the crown of your head against a padded support placed on the floor between your hands. A supported head stabilizes your position and is a great confidence booster. But getting exactly the right height can be tricky: if the height is too low, your head won’t be braced; if it’s too high, your neck will get scrunched. Use a yoga block for a base, then pile two or more folded blankets (or a bolster) on top. How high you build the support will depend on the height and the length of your arms. Experiment with different heights until you feel like you have the right one, then position your hands on the floor to either side of it. Walk in from Adho Mukha Svanasana until you can brace your crown on the support and the back of your head against the wall. Then follow the instructions above for moving into the pose.
Deepen the Pose
Lifting the head to look at the floor is an advanced movement. Be sure not to jam the base of your skull into the back of your neck. Imagine as you lift your head that someone is holding a softball against the nape of your neck. This will help maintain the cervical curve. Also, to lift your head, initiate the movement by pressing your shoulder blades more deeply into your back. Brace your crown against the wall. Then take one heel away from the wall and strongly extend it toward the ceiling. Bring that heel back to the wall and do the same with other. Finally try to take both heels off the wall and balance with only your crown against the wall.
Preparatory Poses
Adho Mukha Svanasana
Bakasana
Pincha Mayurasana
Plank Pose
Supta Virasana
Tadasana
Uttanasana
Virasana
Follow-up Poses
Sirsasana
Pincha Mayurasana
Beginner’s Tip
Many beginners find it difficult to keep their elbows straight in this pose. Buckle a strap and loop it over your upper arms, just above your elbows. Extend your arms straight out in front of you at shoulder width and adjust the strap so that it is snug against your outer arms. Then use the strap in the pose, but think of pushing the arms slightly in, away from the strap, rather than letting them bulge out into the strap.
Benefits
Strengthens the shoulders, arms, and wrists
Stretches the belly
Improves sense of balance
Calms the brain and helps relieve stress and mild depression
Partnering
A partner can help you get a feel for the movement of the tailbone. Position her in front of you as you’re in the pose. Have her wrap her arms around your pelvis, gripping one wrist in the opposite hand, and cradle the sacrum. Then she can pull the back of your pelvis up, lifting your tailbone toward your heels.
Variations
You can vary this pose by placing your hands in different positions. For example, you can narrow your hands inside shoulder width, which decreases your base of support and so develops your sense of balance. Or you can turn your hands outward, which will teach you how to externally rotate the upper arms.
Post Your Comments